
Interior floor tiling
Floor tiling across living areas needs flat substrates, movement joints at changes of construction, and thresholds that suit the adjoining floor finishes and door clearances.
Adelaide service guide
Interior floor and wall tiling succeeds when the substrate, layout and transitions are resolved together. Entries, living areas and feature walls each put different demands on flatness, movement allowance and the relationship to adjoining finishes in an Adelaide home.
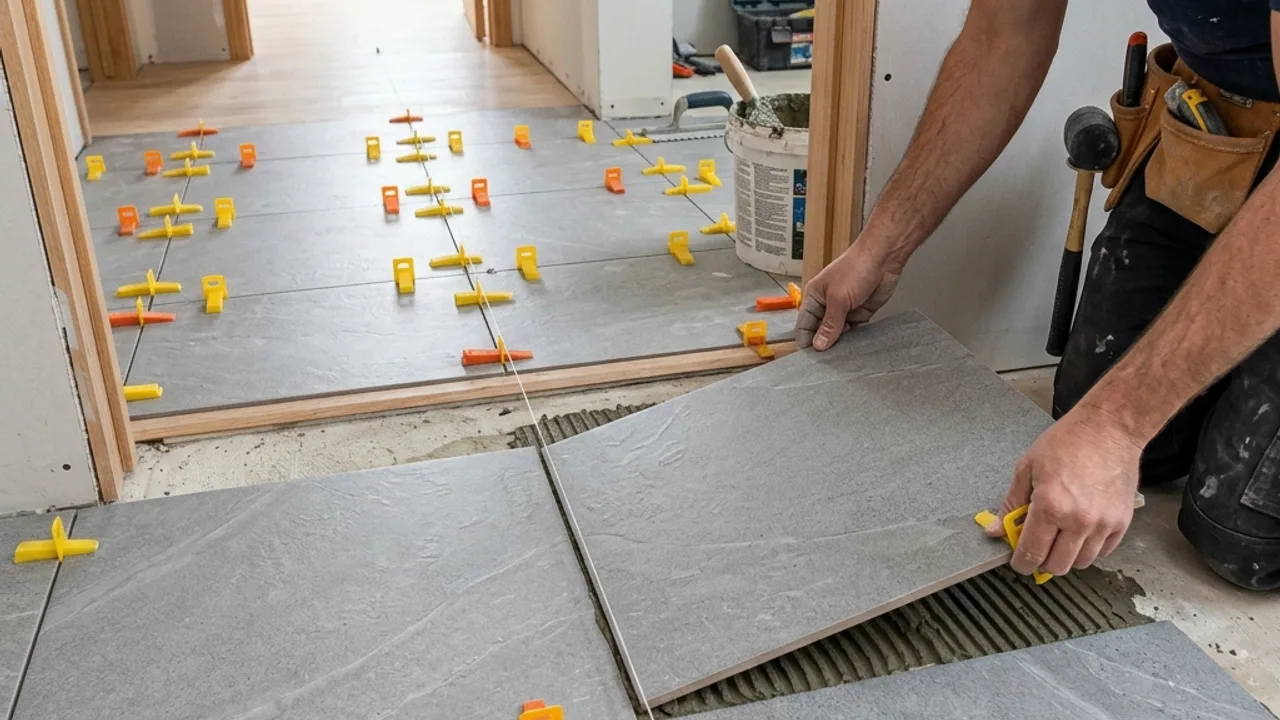
Check the base condition, tile suitability and pattern before agreeing on quantities. Door clearances, skirtings, thresholds, control joints and changes of material can decide whether the finished field looks deliberate and performs over time.
Living-area floor tiling in Adelaide often bridges old and new construction. A villa with a contemporary rear extension may have timber or cork in the original rooms and concrete in the addition. The finished floor level, movement joints and the transition between old and new substrates must be resolved before the first tile is laid, or the result will telegraph every seasonal shift.
Feature walls and fireplace surrounds draw the eye, which makes grout line consistency and edge details more important than in utility spaces. The wall behind the tiles may be brick, timber stud or fibre-cement, and each requires a different adhesive, substrate preparation and fixing method. Heavy stone-look tiles on a stud wall may need extra support that a simple tile specification will not mention.
Entry tiling is the first surface guests see and the last to dry after rain. Adelaide's winter rains and summer dust both affect entries, so slip resistance, ease of cleaning and the transition from outside to inside matter as much as appearance. A recessed mat well, a change of material or a drained external step can protect the internal field.
Floor tiling across living areas needs flat substrates, movement joints at changes of construction, and thresholds that suit the adjoining floor finishes and door clearances.
Vertical tiling needs wall-type-specific preparation, weight support for heavy tiles, and grout lines that read consistently from a distance.
Removing old tiles can reveal unexpected substrates, heights and adhesives. The scope should cover disposal, surface repair and matching transitions into unaffected areas.
Interior tiling has fewer moisture risks than wet-area work, but it has more visual exposure. Lippage between large-format tiles, colour variation from batch to batch, and grout that is inconsistent across an open-plan area all become obvious once furniture is removed. A dry layout before fixing is the best insurance against these problems.
Sound transmission and thermal mass are also worth considering on suspended floors or upper levels. A tile directly bonded to a timber subfloor can sound hollow if the subfloor flexes, and the mass may require verification of the supporting structure. These issues are best raised during the scope stage rather than discovered after the adhesive has set.
Confirm membrane, joint and exposed-edge interfaces in the written scope.
Record nearby moisture symptoms as a separate diagnostic question.
Adelaide floor and wall tiling projects often connect original homes with newer living spaces.
Many Adelaide properties retain their front rooms while extending living areas toward the rear. This creates junctions where Baltic pine, cork or slate meet new concrete slabs. Tiling across these boundaries requires careful planning of levels, movement joints and transition trims, especially where doors or hallways sit close to the change of construction.
Northern light in Adelaide can highlight any inconsistency in grout colour or tile lippage, so layout and levelling deserve extra attention in open-plan rooms. For feature walls and entries, the choice of tile should balance appearance with practical cleaning, because summer dust and winter rain both find their way onto these surfaces.
Share the room dimensions, adjoining finishes, intended tile and whether the existing floor needs removal. Note any height constraints at doors.
Check substrate type, flatness, movement joints and structural support for heavy tiles. Confirm the condition of adjacent skirtings and architraves.
Agree the pattern, grout colour, movement-joint placement, thresholds and the process for handling height differences into adjoining rooms.
Sequence removal, preparation, adhesive selection, fixing, grouting and protection so painters and joiners can follow with clean edges.
Lippage becomes more visible with long or large-format tiles on an uneven base.
Ignoring movement joints can transfer substrate stress into the tiled finish.
Replacement work can expose height differences that affect doors and nearby floors.
Preparation is discussed as part of the finish, not an invisible extra.
Tile format and pattern are considered against the actual room dimensions.
The scope separates verified site conditions from assumptions that need inspection.
Quotes for floor & wall tiling can use different assumptions about removal, disposal, levelling, preparation, trims, sealants and cleaning. Compare those items line by line, confirm any applicable operator licence, and check product suitability against the actual surface and exposure.
Where the floor & wall tiling project crosses into another layer, review wet-area waterproofing, bathroom tiling or shower repair diagnosis before finalising the brief.
Place each floor and wall tiling quote beside the same brief and mark different assumptions. Check protection, access, removal, substrate flattening, adhesive specification, movement joints, thresholds, cleaning and handover records. If the substrate is unknown until old tiles are removed, agree how variations will be handled.
Read the proposed installation from the structural base upward. Confirm who supplies the tiles and trims, how height differences into adjoining rooms are managed, and what records remain after handover. Keep spare tiles and product information for future repairs.
Pick your suburb for the local notes, or submit the form for a free review.
Floor & Wall Tiling
Clarify your floor & wall tiling scope
Send the room, condition and outcome you are working towards.