
Floor and wall tiling
Coordinate floor and wall layouts so grout lines, feature lines and fixtures read as one plan. Check that the chosen wall tile module works with niche openings, vanity widths and window returns before waterproofing starts.
Adelaide service guide
Bathroom tiling in Adelaide has to reconcile the room set-out, floor waste, fixtures, wall junctions and tile module before the first adhesive bed is placed. That preparation matters most where large formats, niches or narrow cuts compete for space in a compact Adelaide bathroom.
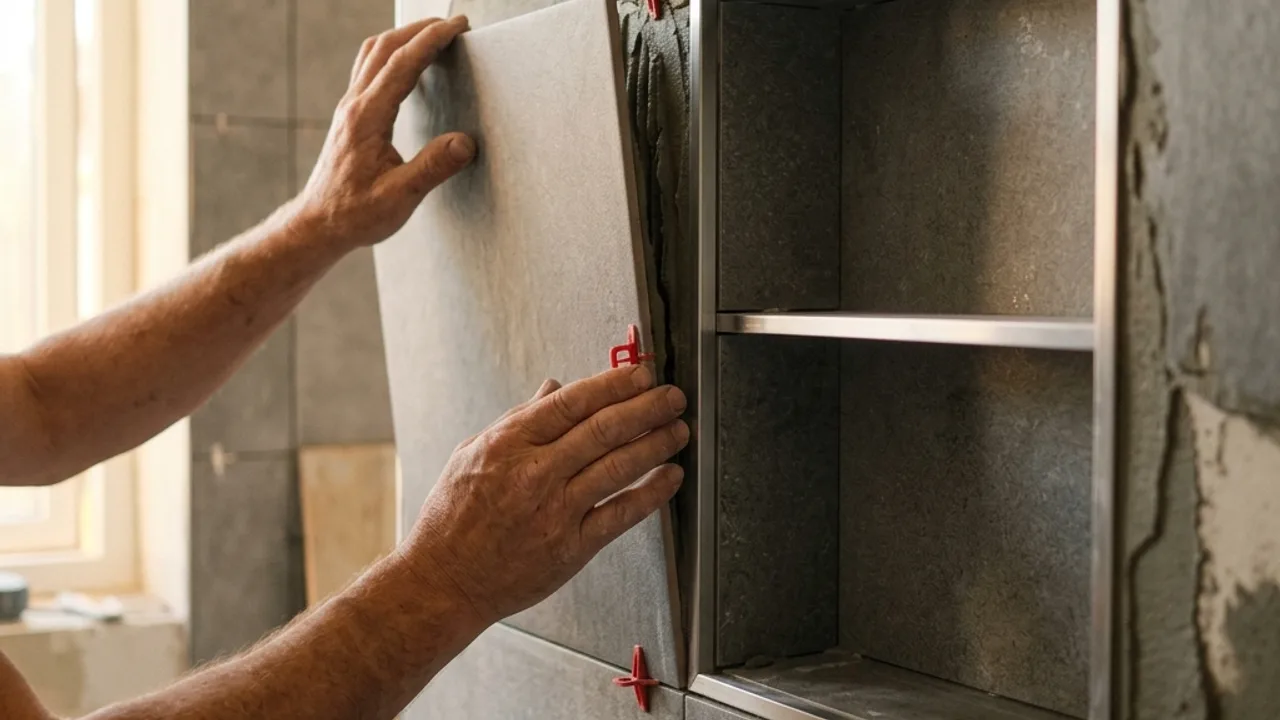
Begin with the substrate and finished floor level, then resolve falls, tile direction, feature lines, trims and movement joints. Confirm where the waterproofing scope ends and which penetrations or thresholds need coordination before tile quantities are locked in.
A useful bathroom tiling enquiry describes the room dimensions, existing substrate, fixture positions and the tile format under consideration. Large-format tiles demand flatter backgrounds and more generous grout joints, while smaller mosaics increase grout line density and change the visual scale of the space. In Adelaide's older villas and character bathrooms, the wall and floor levels may not match modern sheet or screed systems, so the preparation layer becomes part of the finish decision.
Wall tiling around vanities, mirrors and recessed niches needs set-out resolved before waterproofing begins. Horizontal feature lines, vertical stack patterns and grout colour all read differently under Adelaide's strong northern light, so sample boards viewed in the actual room are more reliable than showroom judgments. The membrane boundary must be agreed in writing: it is not enough to assume the tiler and waterproofer share the same line at the shower curb or bath edge.
Floor tiling must account for falls to the waste, the height of the drain flange, and transitions into adjoining carpet, timber or tile. A level-looking floor can still hold water if the tile module conflicts with the fall. Movement joints around the perimeter and at changes of plane protect the field against the seasonal movement common in Adelaide's Mediterranean climate.
Coordinate floor and wall layouts so grout lines, feature lines and fixtures read as one plan. Check that the chosen wall tile module works with niche openings, vanity widths and window returns before waterproofing starts.
Niche set-out is judged by grout position at the edges and the relationship to the surrounding field. A niche that is not centred on the tile module can create thin, fragile cuts that are the first place grout fails.
Big tiles need flat substrates, the right adhesive, back-buttering where specified, and movement joints that suit the product and room size. Lippage control systems help, but they do not fix an uneven base.
The junction between tiling and waterproofing is where most Adelaide bathroom disputes begin. A written scope should state who prepares the substrate, who applies the membrane, where it finishes, how penetrations are detailed, and when the tiler can start. Without that sequence, a beautiful tile layout can be undermined by moisture movement at the concealed layer.
Adjoining trades also need coordination. Plumbing rough-in heights, electrical outlet positions, exhaust fan locations and vanity dimensions all affect the tiling plan. The most efficient bathroom projects settle these details before the waterproofing stage, because changes afterwards often mean cutting finished tiles or disturbing sealed joints.
Adelaide bathroom tiling sits at the intersection of housing age, climate and water quality.
Across Adelaide, bathroom renovations often involve a mix of original villas, mid-century homes and newer infill builds. Each era presents a different substrate: timber floors in older homes, cement sheet in many 1980s renovations, and concrete or screed in newer construction. The preparation required before tiling can vary more than the tile choice itself, so the quote should separate finish supply from substrate work.
Adelaide's dry summers and wet winters produce substrate movement that can stress grout and tile beds. Movement joints, flexible sealants and correct adhesive selection matter more than in consistently humid climates. In coastal suburbs, salt-laden air also affects metal trims and grout colour over time, so material selection should account for exposure as well as appearance.
Share the room size, existing condition, fixture layout and the tile idea. Photographs of the current floor, walls and waste help scope the preparation.
Check substrate flatness, moisture history, waste height and the junctions with adjoining rooms. Decide whether the existing floor can be tiled over or must be stripped.
Confirm the tile module, feature lines, waterproofing boundary, movement joints and the handover records included in the quote.
Agree the sequence with plumbing, electrical and waterproofing so each trade works to the same finished levels.
Poor set-out can leave thin cuts at doorways, niches or visible corners.
A flat-looking floor can still fail to drain if falls and tile format are incompatible.
Changing fixtures late may disturb established junctions and waterproofed penetrations.
Layout questions are raised before tile quantities are locked in.
The membrane boundary and tiling scope are treated as connected but distinct layers.
Licensed operators are involved where South Australian building work licensing applies.
Quotes for bathroom tiling can use different assumptions about removal, disposal, levelling, preparation, trims, sealants and cleaning. Compare those items line by line, confirm any applicable operator licence, and check product suitability against the actual surface and exposure.
Where the bathroom tiling project crosses into another layer, review wet-area waterproofing, bathroom tiling or shower repair diagnosis before finalising the brief.
Place each bathroom tiling quote beside the same brief and mark different assumptions. Check protection, access, removal, surface repairs, preparation, supplied products, joints, sealants, cleaning and handover records. If opening the surface may reveal unknown conditions, require a written inspection and variation point before extra work proceeds.
Read the proposed tiling system from the base upward and its sequence from preparation to handover. Confirm adjoining-trade responsibilities, nominated products, cure or access limits and the evidence retained before finishes conceal the work. Keep relevant product details, photographs and spare tiles for later maintenance.
Pick your suburb for the local notes, or submit the form for a free review.
Bathroom Tiling
Clarify your bathroom tiling scope
Send the room, condition and outcome you are working towards.